Views: 172 Author: Site Editor Publish Time: 2025-06-04 Origin: Site


Water pumps are critical components in many systems, from residential plumbing to industrial equipment and HVAC installations. They ensure efficient fluid movement and system performance. However, even the most robust water pump systems can develop leaks or pressure inconsistencies over time, leading to severe operational failures or costly water damage. That’s why pressure testing a water pump using a pressure test pump is not just a recommendation—it’s a necessity.
Pressure testing verifies whether the pump and its connected piping can maintain pressure without leaks or mechanical faults. This process helps in identifying weaknesses or wear and tear before a breakdown occurs. In this article, we'll walk you through everything you need to know about how to pressure test a water pump, step-by-step, without the use of brand-specific tools or products.
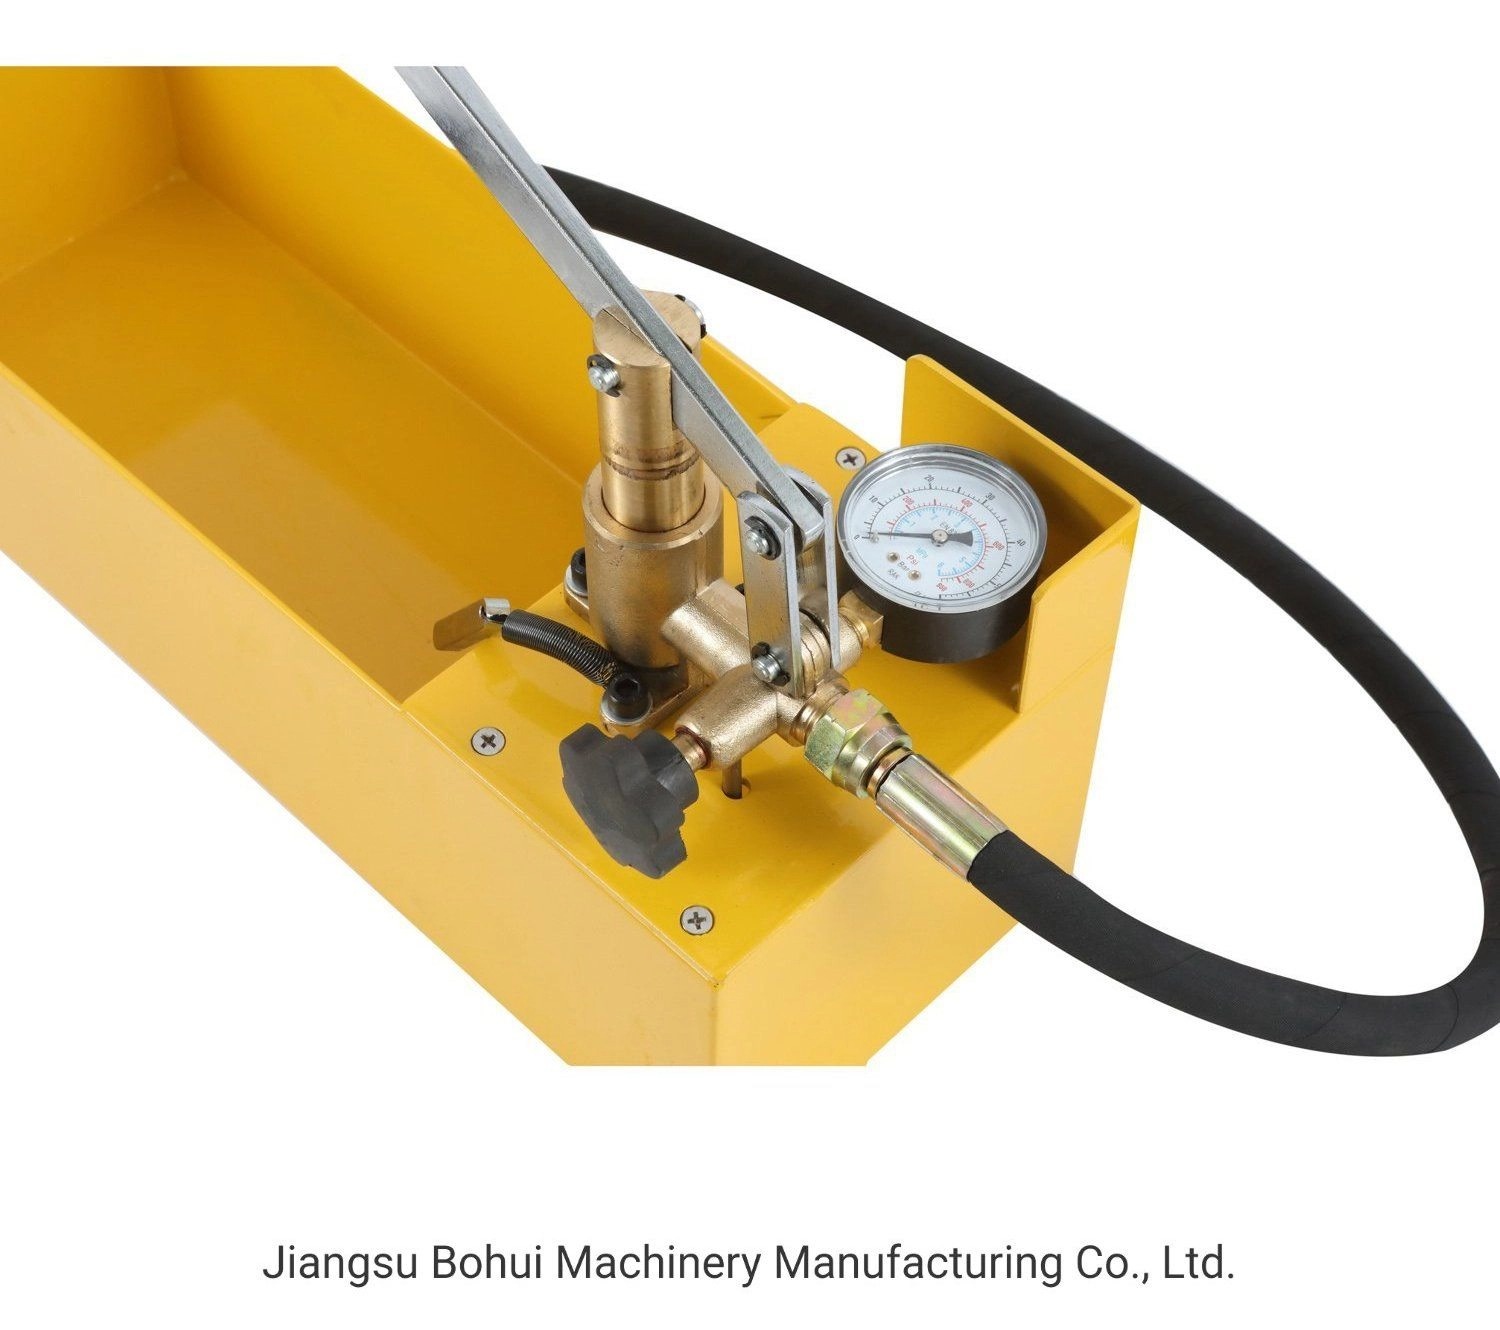
A pressure test pump is a device used to manually or automatically pressurize a fluid system for the purpose of testing its integrity. It forces water (or other non-compressible liquids) into the system to simulate operating conditions or apply higher-than-normal pressure to test for leaks, cracks, or system inefficiencies.
There are three main types of pressure test pumps:
| Type | Power Source | Application Areas | Pressure Range (Typical) |
|---|---|---|---|
| Manual Test Pump | Hand-operated | Residential, small systems | Up to 60 bar |
| Electric Test Pump | Motor-driven | Industrial, HVAC, fire systems | 10–100 bar |
| Hydraulic Test Pump | Fluid-driven | High-pressure testing | Up to 1000 bar |
Each type has its advantages depending on the testing scenario, but they all serve the same core function: safely evaluate a system’s ability to hold pressure without failure.
Before conducting any pressure test, ensure that the area is clear of unnecessary personnel, the power to the system is shut off, and all valves are accessible. Wear appropriate personal protective equipment (PPE), including gloves and eye protection.
Check that the system is fully drained of air and that there is no residual pressure left in the pipes. This prevents false readings and ensures an accurate test.
Connect the pressure test pump to the inlet or designated test port of the water pump system. Make sure all fittings are secure and leak-free. Use Teflon tape or appropriate sealants to avoid losing pressure during the test.
Fill the system with clean water before testing. Air pockets can affect the reading and must be completely removed. Some systems have air bleed valves—open them until water flows steadily.
Slowly operate the pressure test pump to increase pressure within the system. Monitor the attached gauge closely. Increase pressure incrementally until you reach the designated testing pressure, typically 1.5 times the system’s normal working pressure (unless specified otherwise by the manufacturer or system design code).
Maintain this pressure for a minimum of 15 to 30 minutes, depending on system requirements. Watch for any drop in pressure on the gauge. A sudden or gradual loss of pressure may indicate a leak, loose connection, or material defect.

Leaving air in the system will lead to inaccurate test results. Compressible air cushions can mask pressure drops caused by actual leaks. Always purge the air before applying pressure.
Applying more pressure than recommended can damage valves, fittings, and the pump itself. Always know your system's maximum allowable working pressure (MAWP) and do not exceed 1.5 times that value during testing.
Ensure the gauge used is correctly calibrated and positioned where it can be clearly seen. Using a damaged or low-resolution gauge can lead to misinterpretation of results.
If the pressure remains stable during the test duration, your system is secure and leak-free. However, if there's a drop:
Gradual Pressure Loss: This usually indicates a small leak, potentially around joints or seals.
Rapid Pressure Drop: Often a sign of a more serious issue like a cracked pipe, faulty gasket, or loose fitting.
Fluctuating Pressure: Could suggest a faulty gauge or trapped air that wasn't purged initially.
If a leak is detected, depressurize the system, isolate the section causing the issue, and repair or replace the damaged component before re-testing.

It's advisable to pressure test during initial installation, routine maintenance checks, and after any system modification or extended downtime. For industrial systems, annual testing may be required.
Technically yes, but it is not recommended for safety reasons. Air is compressible and stores more energy than water. A failure under air pressure can cause explosive decompression, posing serious risk.
Ideally, there should be no pressure drop. Some systems might allow a slight drop (e.g., 0.1 bar over 30 minutes), but this depends on the system size and material. Always refer to local standards or engineering codes.
Performing a pressure test on your water pump using a pressure test pump is essential for ensuring system integrity and preventing future failures. While the process is straightforward, it must be executed with precision and awareness of safety guidelines. From selecting the right pump to interpreting the test results, each step matters.
Regular pressure testing allows you to identify potential issues early, maintain compliance with safety standards, and extend the lifespan of your equipment. Whether you’re a contractor, technician, or DIY enthusiast, mastering this process adds immense value to your operational toolkit.